
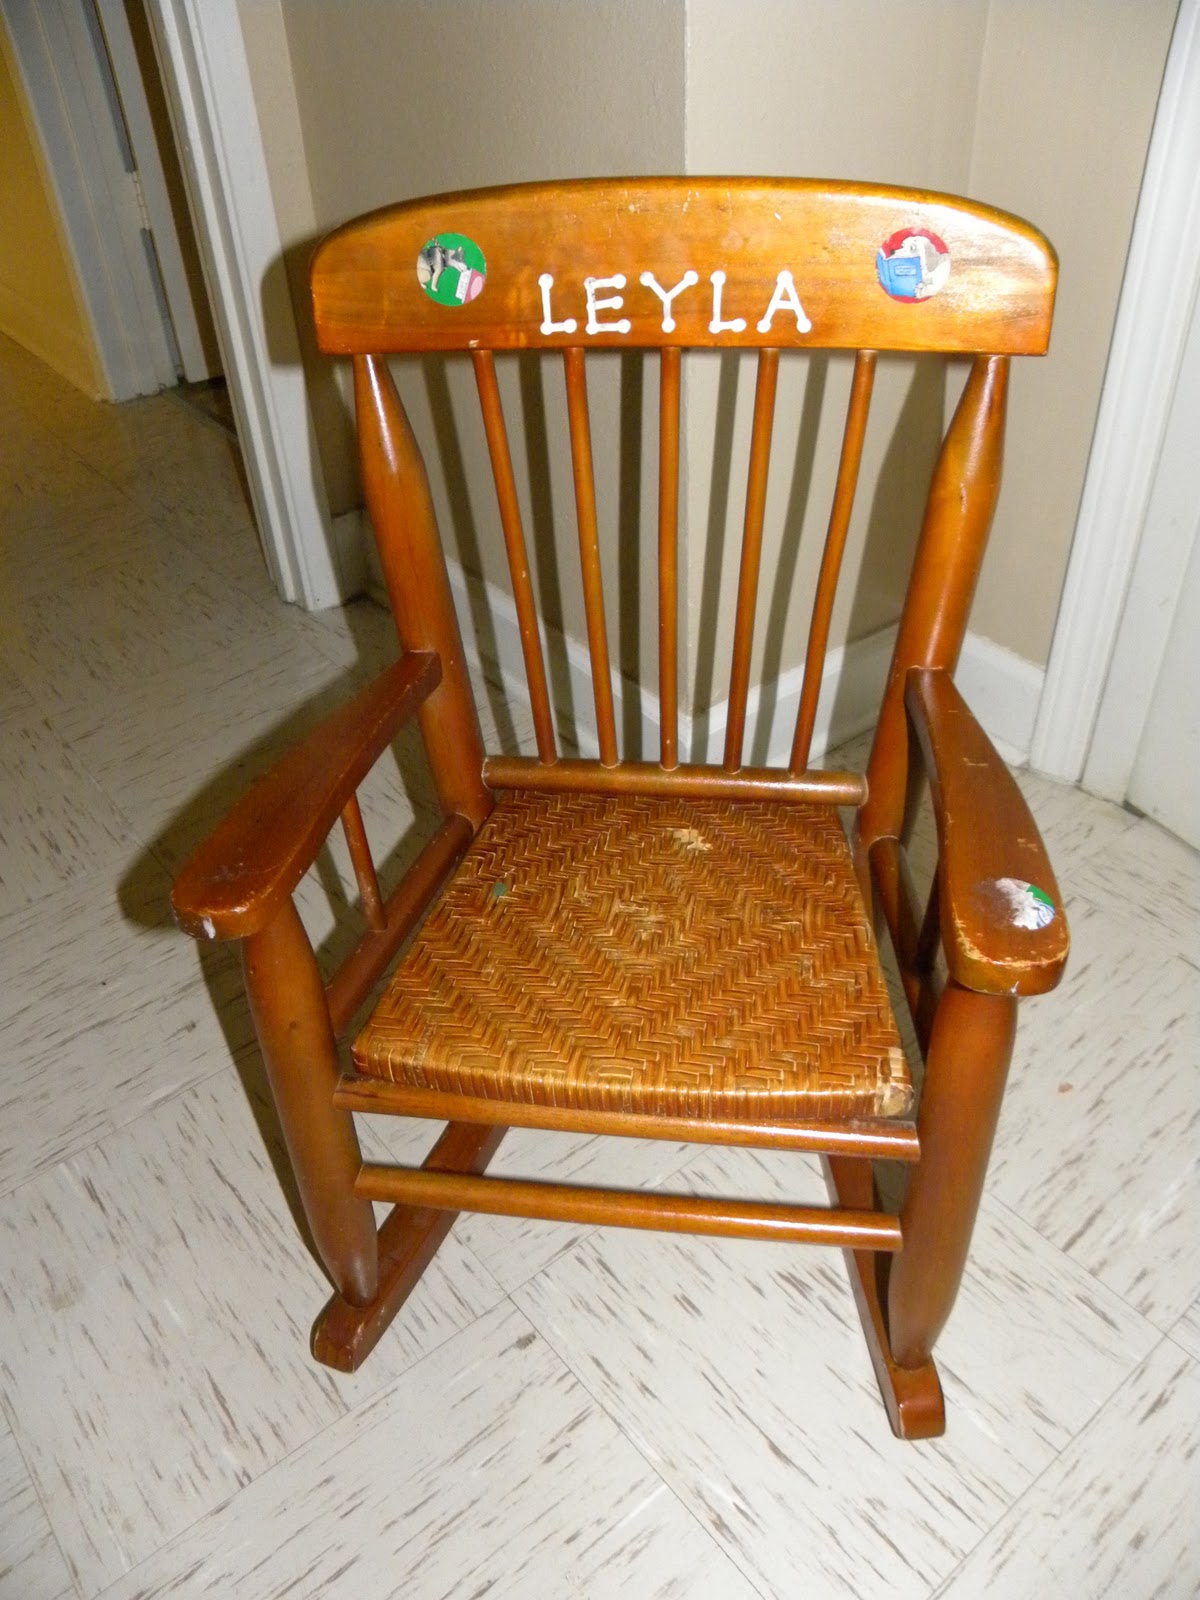
The chair at first was old...my daughter received it when she was just a baby and it saw years of destruction from all 3 of my children...now that the girls are interested in having some more grown up pieces in their room like a vanity and a desk, these little chairs no longer have a place. So I decided to refinish them and make them new for another little girl to enjoy.
$5.00 1/2 Gallon of Black Paint (Didn't even put a dent in it, plenty more for lots of other projects)
$4.00 Mini Cursive Letters Box (Still have enough to do other names)
$2.99 1 yard of Fabric (Was a remnant from a vanity project I did for my daughter's room)
$3.49 Krylon Spray Primer (leftover from another project)
$5.00 2 pack of chair sized foam pieces (used 1/2 of 1)
Overall used about $5.00 worth of supplies
Steps:
1) Wash the piece and strip those stickers off. Also a good time to remove the seat if it is able to be removed.

2) Sand it all over evenly to loosen up any existing finish and also to help remove any remnants of the stickers and old name.


5) The client did not care for the wicker look to the seat, plus the wicker was damaged and last I heard that is not easy to reweave and repair. So instead, I added a foam cushion, and some fabric left over from another project and gave her an adorable cushioned seat. The cushion was necessary not only for comfort, but also to keep the weave from being visible through the fabric.


6. Put the seat back on the base and glue the name letters on (these were painted to match the flowers in the fabric)

I found a few rocking chairs at an online retailer (www.rockingchairs.com) that were ALOT of money.
 |
| Retails for $59.99 |
 |
| This one has fabric elements and is black and modern like the one I made, but it retails for $119.99. |
No comments:
Post a Comment